
Aurora Photography – Photograph the Northern Lights
Martin Sammtleben, 2. January 2026
The Northern Lights or Aurora Borealis with their changing shapes and colours have fascinated people through the ages. They’re an electromagnetic phenomenon caused by the sun storm entering the earth’s upper atmosphere and magnetic field.
Luckily capturing the aurora has become a lot easier with today’s cameras, that have increasingly better low-light performance. Here are few tips in brief…
- You will need a tripod and remote, or use your camera’s self-timer.
- Watch the weather – you will want a clear night.
- Follow the aurora forecast on sites such as spaceweather.com
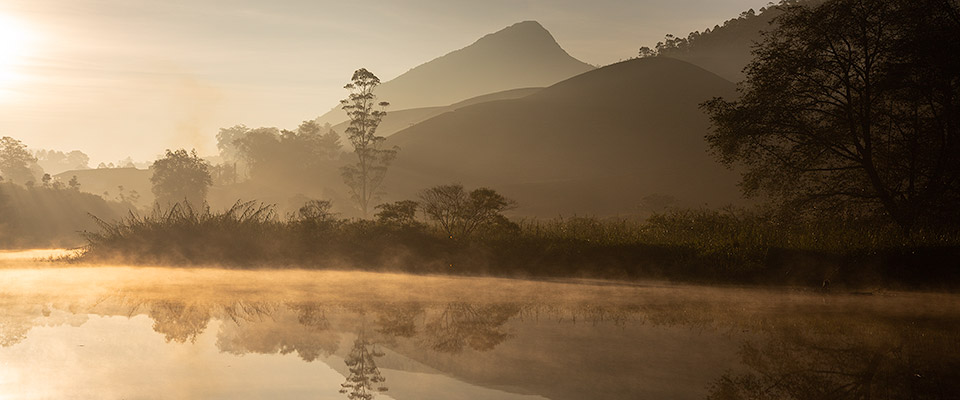
The aurora can show up any time during the dark hours. - If possible find a nice location in advance during daytime and take note of interesting spots that provide some foreground interest. Think of the aurora as a typical landscape subject with an interesting sky. Especially reflective surfaces such as water or ice are perfectly suited as foregrounds since they can provide amazing reflections of the aurora.
- Keep yourself and your spare batteries warm, because you might spend a lot of time standing around waiting. Bring a flask with a hot drink.
- As the lights can stretch across the entire sky, you will in general find wide-angle lenses, fixed or zooms, more useful than longer lenses. Fast, fixed-focal length lenses are a very good choice, but also a zoom with a modest f/4.0 can be used with good results.
- Very important: you must remove any filters from your lenses, even clear protective ones. If left on the lens they will cause circular interference patterns that can’t be removed in post-processing.
- You need to make sure that the stars turn out sharp in your images. This requires precise focus on infinity. The auto-focus usually won’t work in the dark, so you need to set your lens manually to infinity and tape down the focus ring to prevent knocking it inadvertently. This is best worked out during daytime by using your camera’s live view (EVF or rear screen) at maximum magnification and focusing manually on something contrasty in the far distance like mountains, trees etc. With a bit of practise this can be done successfully, even in the dark: point your camera at the brightest star or a distant street light and, at maximum magnification, adjust focus until the star appears as a small point of light.
- Unless the aurora is very bright use the following camera settings as a starting point: aperture f/2.8 – 4.0, 15 seconds exposure, an ISO of 800–1600. Adjust these values if the images turn out too dark or bright.
- The lights can move quickly. In that case aim for shorter shutter speeds around 5 seconds or less. Turn your camera’s ISO up to the highest value, that will still produce images without excessive noise and open up your lens’s aperture to let in as much light as possible.
- Shooting RAW is highly recommended. However if you prefer to shoot JPEG make sure to enable long-exposure noise reduction in your camera. Note that this function should be turned off when shooting RAW as it has no effect on RAWs. Instead use the noise reduction features of your software.
- Experiment with the white balance of your images. Northern Lights often look rather greenish straight from the camera and they can change appearance dramatically as you adjust the colour temperature and tint controls. This way you can often bring out other colour hues if any are present. I found the following values to be a good starting point…
temperature: 3500 to 4300K, tint: +30 to +50. However if the moon is illuminating the scene, you need to stick to a white balance closer to daylight like 5000K, no tint.
In the end this is very much a question of personal taste and best is always what looks best to you.
Free iBook: A Guide to Photographing the Northern Lights
More information on aurora photography can be found in our free iBook A Guide to Photographing the Northern Lights. If you own an Apple iPad or a Mac, check it out!
If this has sparked your interest, why not join us on one of our northern lights tours in either Iceland , Norway or Greenland?